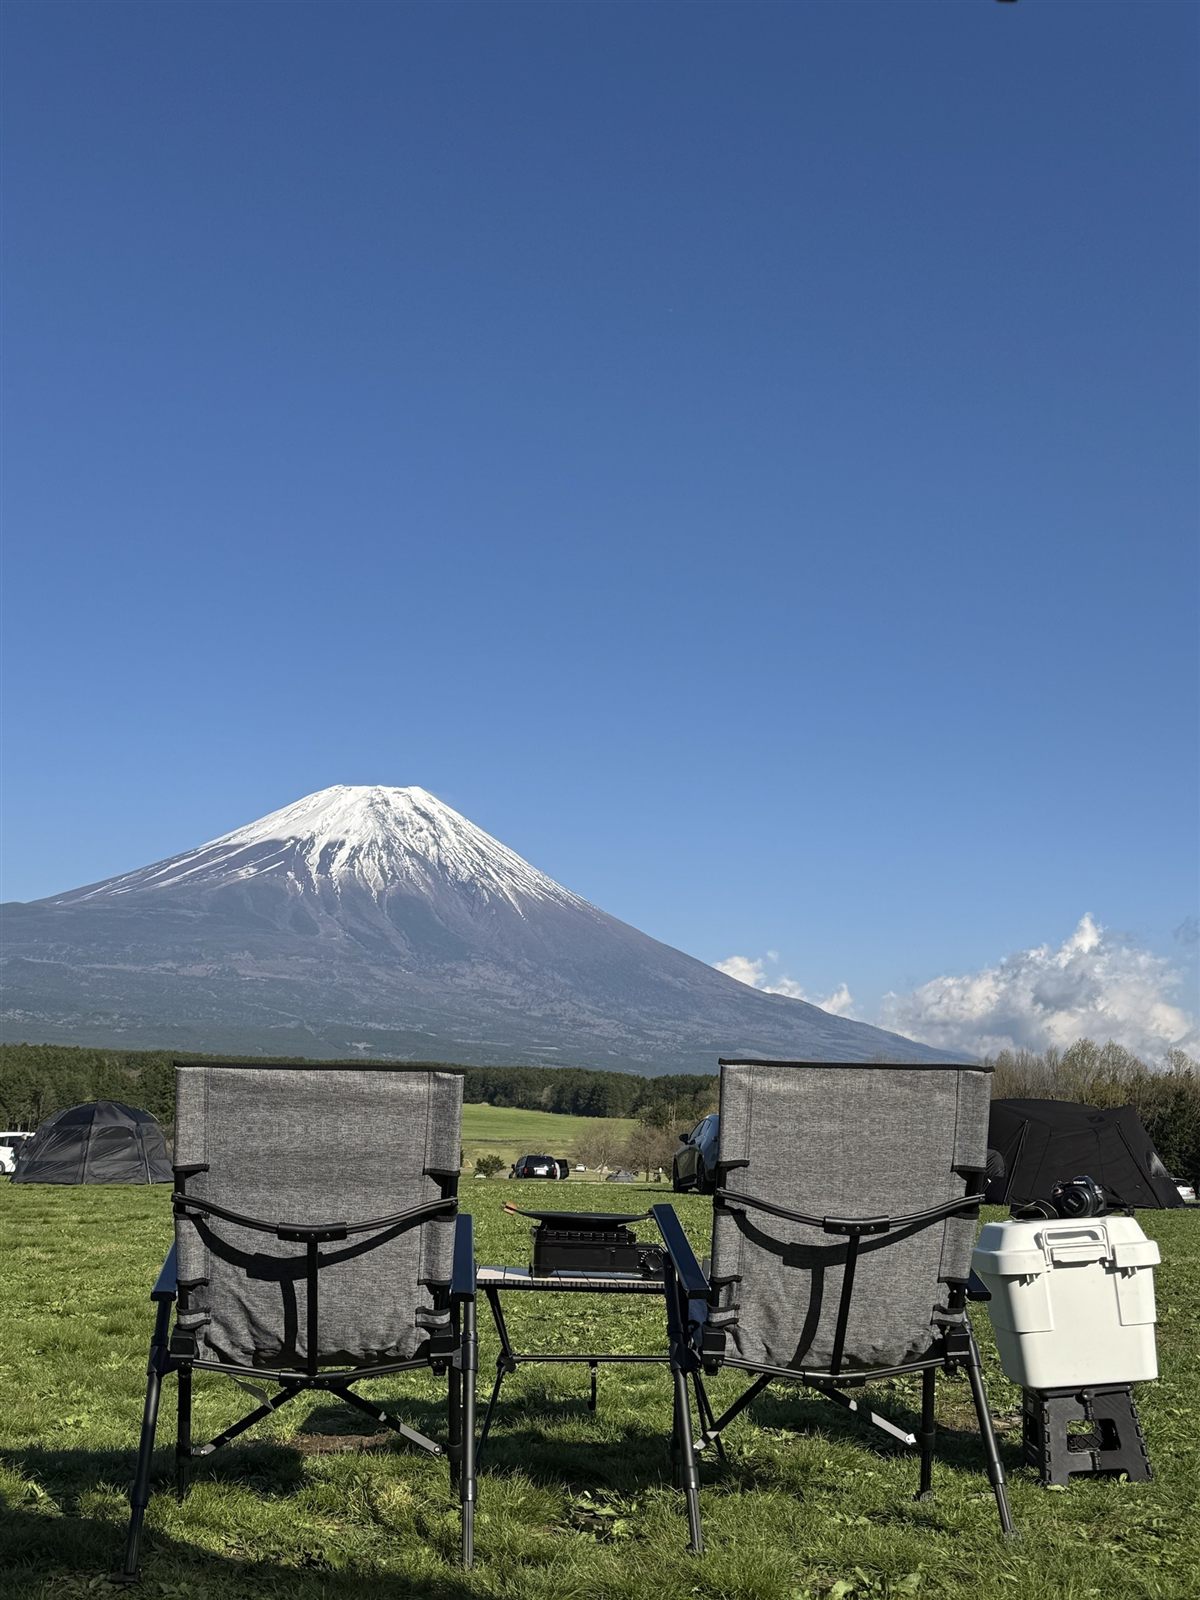
For most visitors, booking is the hardest part of camping in Japan. The campsites themselves are clean, safe, and welcoming. The problem is getting there: most booking pages are only in Japanese, and the rules are not always explained.
My wife and I have camped in Japan for about five years, mostly at auto campsites where you park next to your tent. We have booked through big booking sites, small official websites, and by phone. Here is exactly how we do it.
Step 1: Find campsites
There is no single website that lists every campsite in Japan. We usually search the web for the area we want to visit and compare what comes up.
Search for the place name plus the Japanese word for campsite:
- キャンプ場 (kyanpu-jō): campsite
- オートキャンプ場 (ōto kyanpu-jō): auto campsite, where you park next to your tent
For example: 富士山 キャンプ場 (Mt. Fuji campsite) or 河口湖 キャンプ場 (Lake Kawaguchi campsite).
You will find campsites on three kinds of pages:
- Booking sites. Nap Camp (なっぷ) is one of the largest in Japan, and we use it often.
- Official campsite websites. Many campsites take bookings only through their own site.
- Phone only. Some older or public campsites still take reservations by phone.
Your browser’s translate function works well enough on most of these pages. Use it to read prices and rules, but double-check numbers and dates in the original.
Step 2: Choose a campsite
We choose in this order: location first, then price, then facilities.
1. Location. Decide on the view you want: Mt. Fuji, the sea, or a river make very different trips. 2. Price. Check what fits your budget in that area. Very expensive sites can feel more like a hotel than camping. That is fine for glamping, but not if you want a real camping experience. 3. Facilities. Read reviews and look at photos. We skip campsites without showers or electricity.
One more tip: look for a hot spring (温泉, onsen) nearby. After a night outside, a hot bath feels wonderful, and we often choose a campsite partly because an onsen is close.
Step 3: Fill in the booking form
Most booking forms ask for the same things.
| Item | Japanese on the form | Notes |
|---|---|---|
| Dates | 日程 / チェックイン日 | Check-in / check-out dates |
| Number of people | 人数 | Adults and children are often counted separately |
| Site type | サイト種類 | Auto site, plot site, free site, cabin, etc. |
| Name | 氏名 | Some forms also ask for a katakana reading (フリガナ) |
| Contact | 電話番号 / メールアドレス | Phone number, email |
| Address | 住所 | Japanese address format |
The name and address fields can be tricky if you are not Japanese. If the form will not accept your details, send a short email or call the campsite and ask how to book.
Also check the cancellation policy (look for キャンセル on the page). If the rules are not written anywhere, ask. We sometimes call a campsite just to confirm what happens if we cancel.
Step 4: Book early enough
If you have a specific campsite in mind, book at least two weeks ahead. We often leave it late, and our first choice is often already full.
If you live in Japan and just want somewhere nearby, last-minute booking can work. For a planned trip, earlier is always safer, especially on weekends, national holidays, and in summer.
How much it costs
Prices vary a lot. The cheapest campsites we have used cost about 1,500 yen per night, and expensive ones can be over 10,000 yen. A typical campsite costs around 5,000 to 6,000 yen per night.
These prices are usually per site, not per person. At most auto campsites, the price changes with the site type, the number of cars, or the number of tents, and the number of people barely matters. Electricity may cost extra, so read the price page carefully.
Step 5: Check-in day
When you arrive, go to the reception building (管理棟, kanri-tō) first. Here is what usually happens:
- Payment. Most campsites ask you to pay at check-in, before you set up.
- Contact details. You may write your name and phone number on a form.
- House rules. Staff explain the rules. Common ones are no fires on the ground (直火禁止, jikabi kinshi) and a quiet time (消灯), after which lights and music must be off.
- Weather warnings. Staff may warn you about strong wind. On very windy days, campfires may be banned, even in a fire stand.
Listen carefully, and ask staff to repeat anything you did not understand.
Step 6: Pick your spot
Japanese campsites can be crowded, so where you pitch your tent matters. Before booking, check two things in the photos and reviews: how big each site is, and how close your neighbors will be.
- Plot sites (区画サイト): each group gets a marked space. Check that your tent and car will fit.
- Free sites (フリーサイト): you pitch anywhere in an open area. Read reviews to see how busy it usually gets.
If you can choose, go for the edge or a corner. You will have fewer neighbors and a quieter night. This is our favorite trick, and it has never let us down.
Booking checklist
| Check | Done |
|---|---|
| Choose your area (the view you want) | ☐ |
| Search for “place name + キャンプ場” | ☐ |
| Check the price, showers, electricity | ☐ |
| Look for an onsen nearby | ☐ |
| Check site size, how crowded it gets | ☐ |
| Read the cancellation policy | ☐ |
| Book at least two weeks ahead | ☐ |
| Bring cash or a card for payment at check-in | ☐ |
Want the full guide?
This article is based on a chapter of my book for first-time campers in Japan. The book also covers camping without a car, campsite rules and manners, and useful Japanese phrases for booking and check-in. → Camping in Japan: A Local’s Guide for First-Timers (Amazon)
If you want to see what a stay at a famous Mt. Fuji campsite looks like, read our Fumotoppara guide. → Fumotoppara campsite guide